Initial Setup
1. Change Your User Password
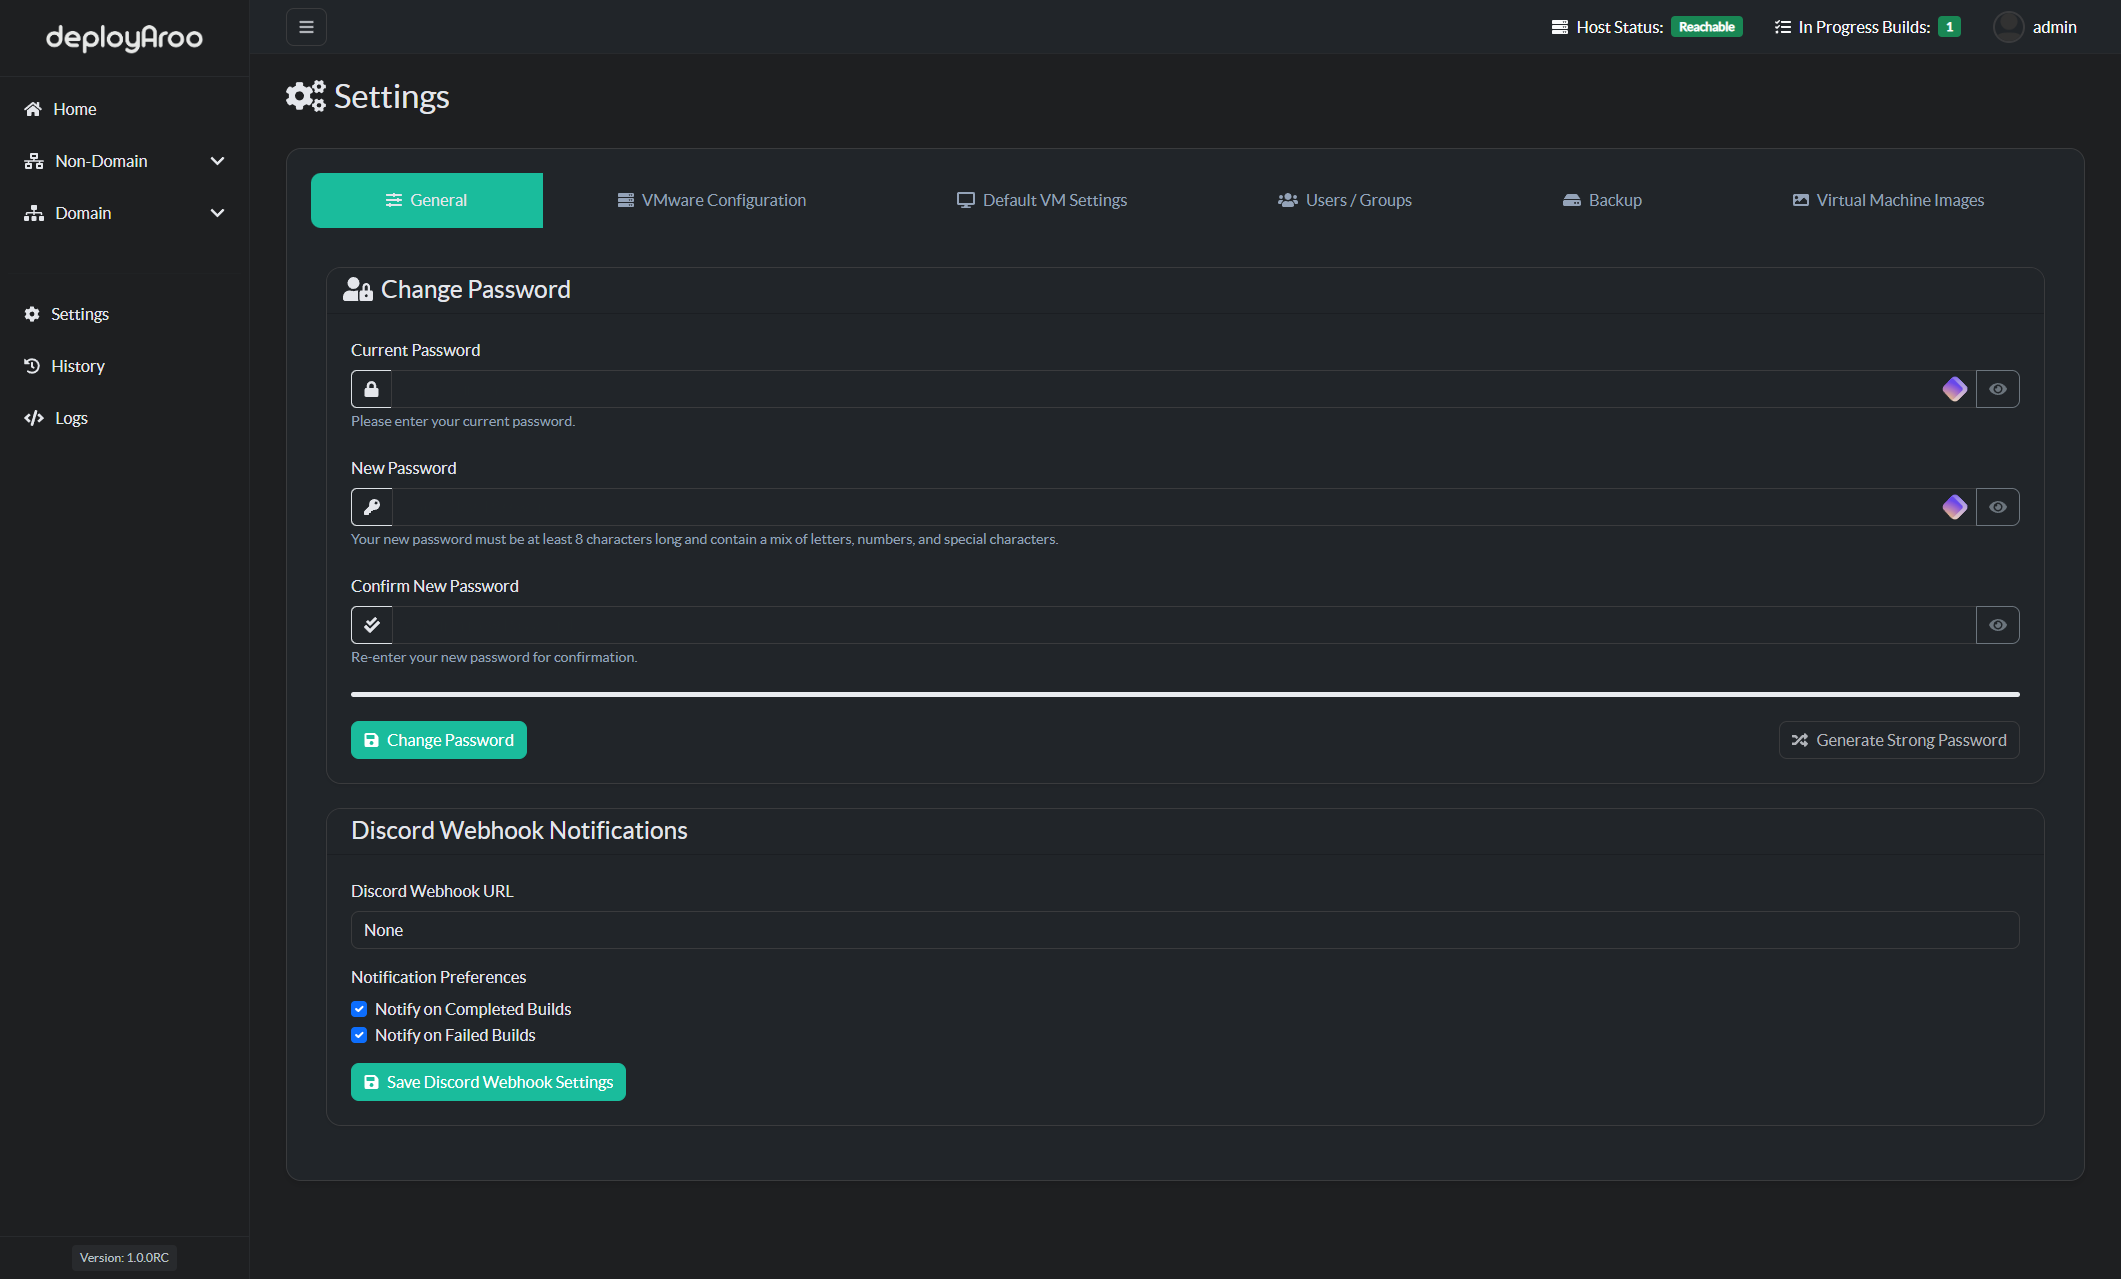
Change Default User Password
Important: Changing your default user password is crucial for maintaining the security of your account and the Deployaroo system.
-
Navigate to Password Settings:
- Go to Settings > General Tab.
-
Enter Password Information:
- Input your current password in the designated field.
- Type your new password in the 'New Password' field.
- Re-enter the new password in the 'Confirm Password' field.
-
Save New Password:
- Press the Change Password button to update your credentials.
2. Setting Up VMware Configuration
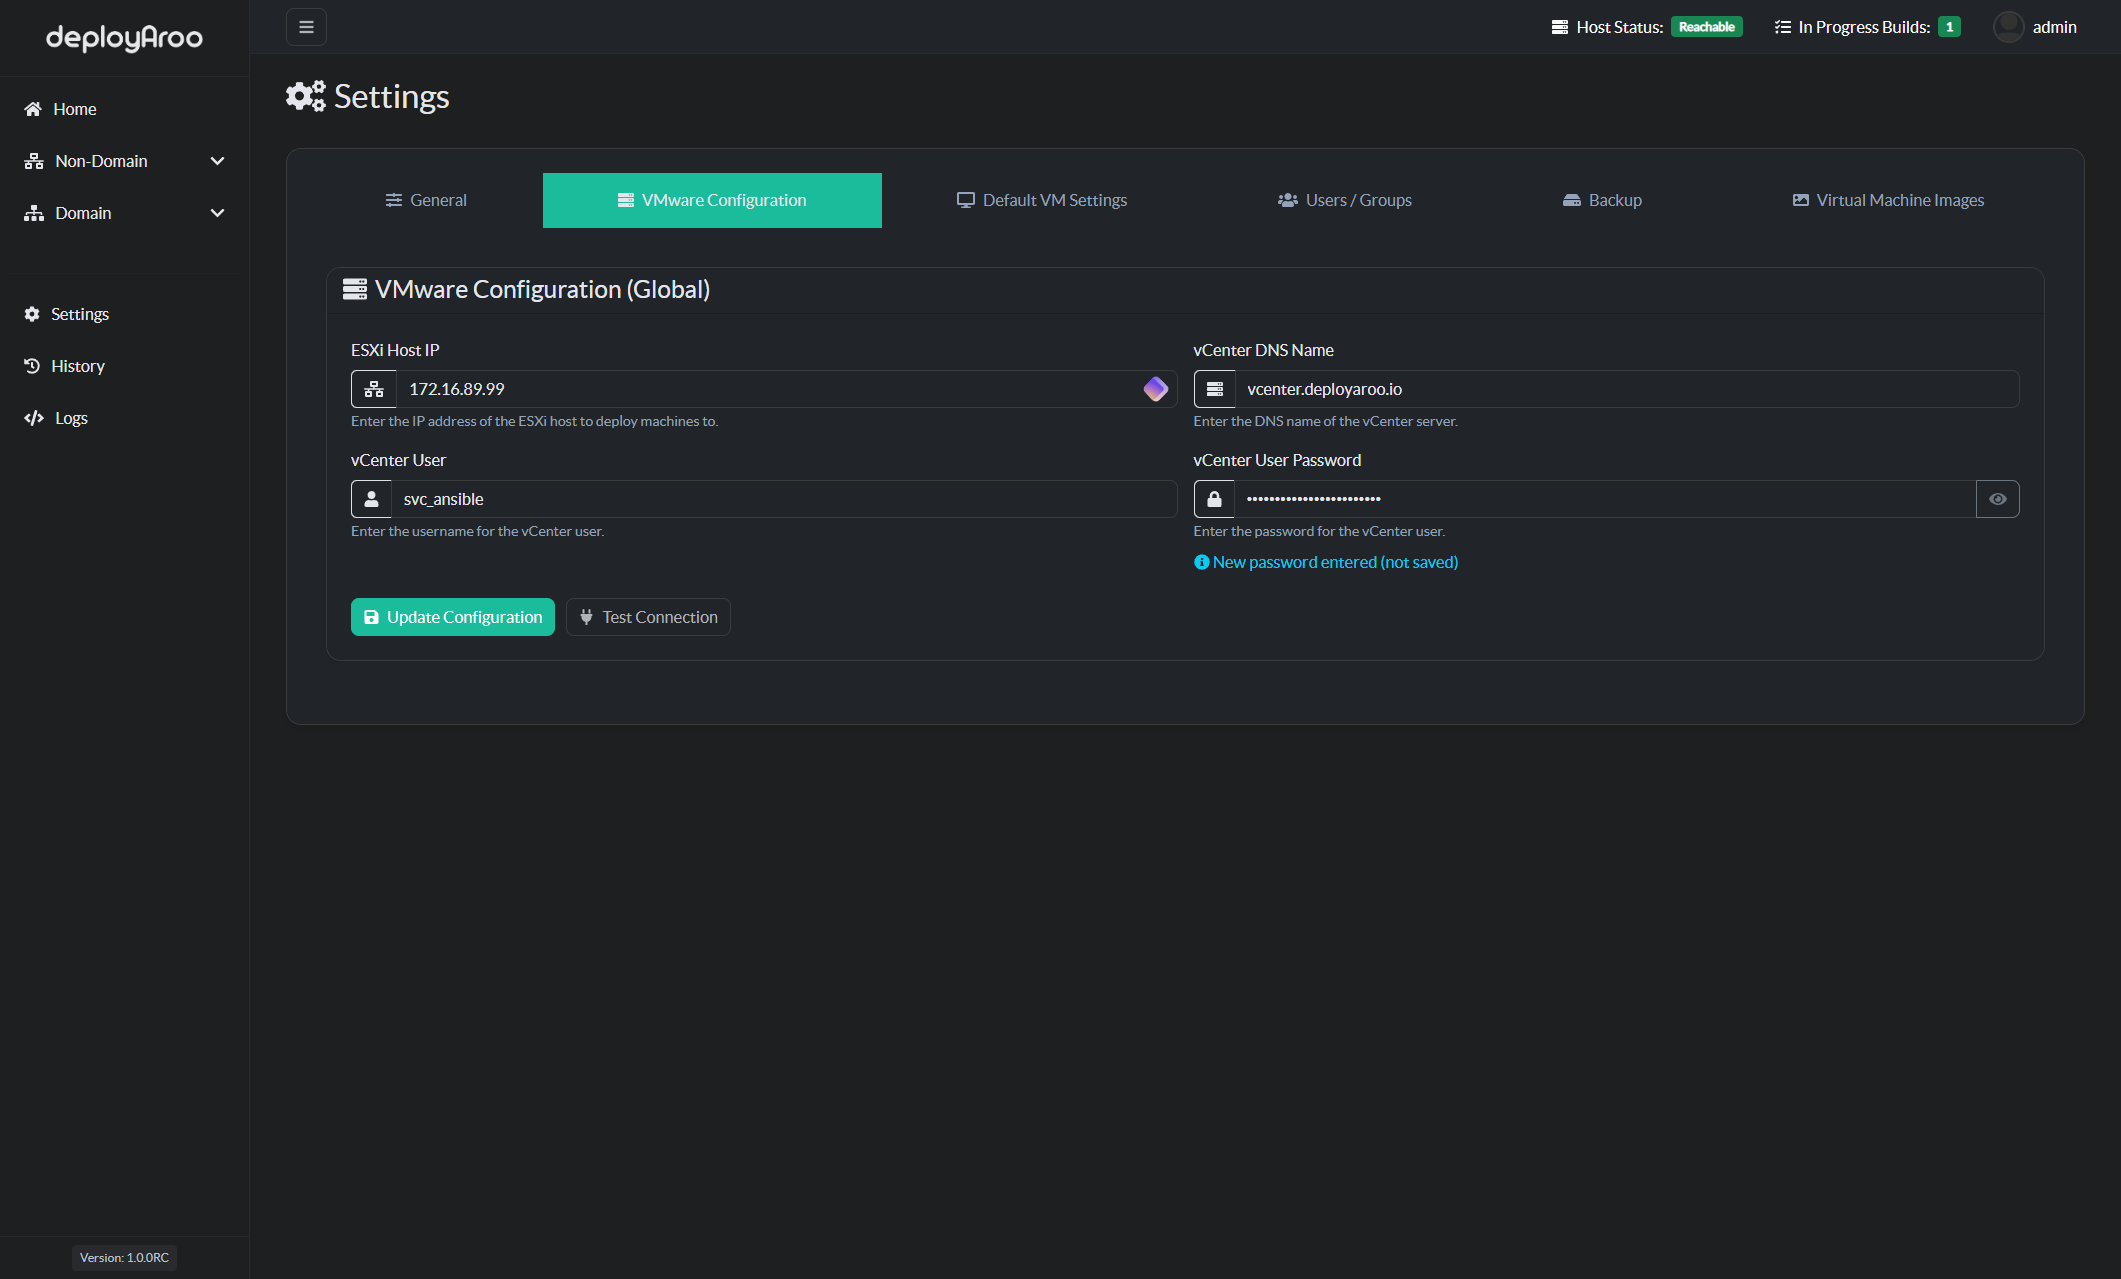
Tip: Ensure the VMware configuration is correctly connected; the Host Status in the top menu bar should change to Reachable.
Steps to Configure VMware Configuration
-
Add IP Address:
- Navigate to Settings > VMware Configuration.
- Set the ESXi Host IP to the address of the ESXi host where you wish to deploy templates.
-
Add vCenter DNS Name:
- Set the vCenter DNS Name to the vCenter server you wish to use.
-
Add vCenter Username:
- Set the vCenter User to the username configured during the prerequisites stage.
-
Add vCenter Password:
- Set the Password to the vCenter user account password configured during the prerequisites stage.
-
Test and save:
- Press Test Connection and ensure you get a successful message before pressing Update Configuration.
3. Setting Up Your Default VM Values
Note: Default values are already set for the Default VM Values section. Only change these if necessary for your specific deployment needs.
Default VM Values and Passwords Configuration
-
Configure Default VM Values:
- Navigate to Settings > Default VM Values.
- Review the pre-set values in the Default VM Values section.
- Adjust any values as needed for your environment.
- Press Save Defaults when you are satisfied with your changes.
-
Set Global Passwords:
- Scroll to the Passwords (Global) section.
- Enter the template passwords for Windows machines.
- Enter the template passwords for Linux machines.
- Press Save Passwords after entering the passwords used by your VM templates.

4. Scanning VM Images
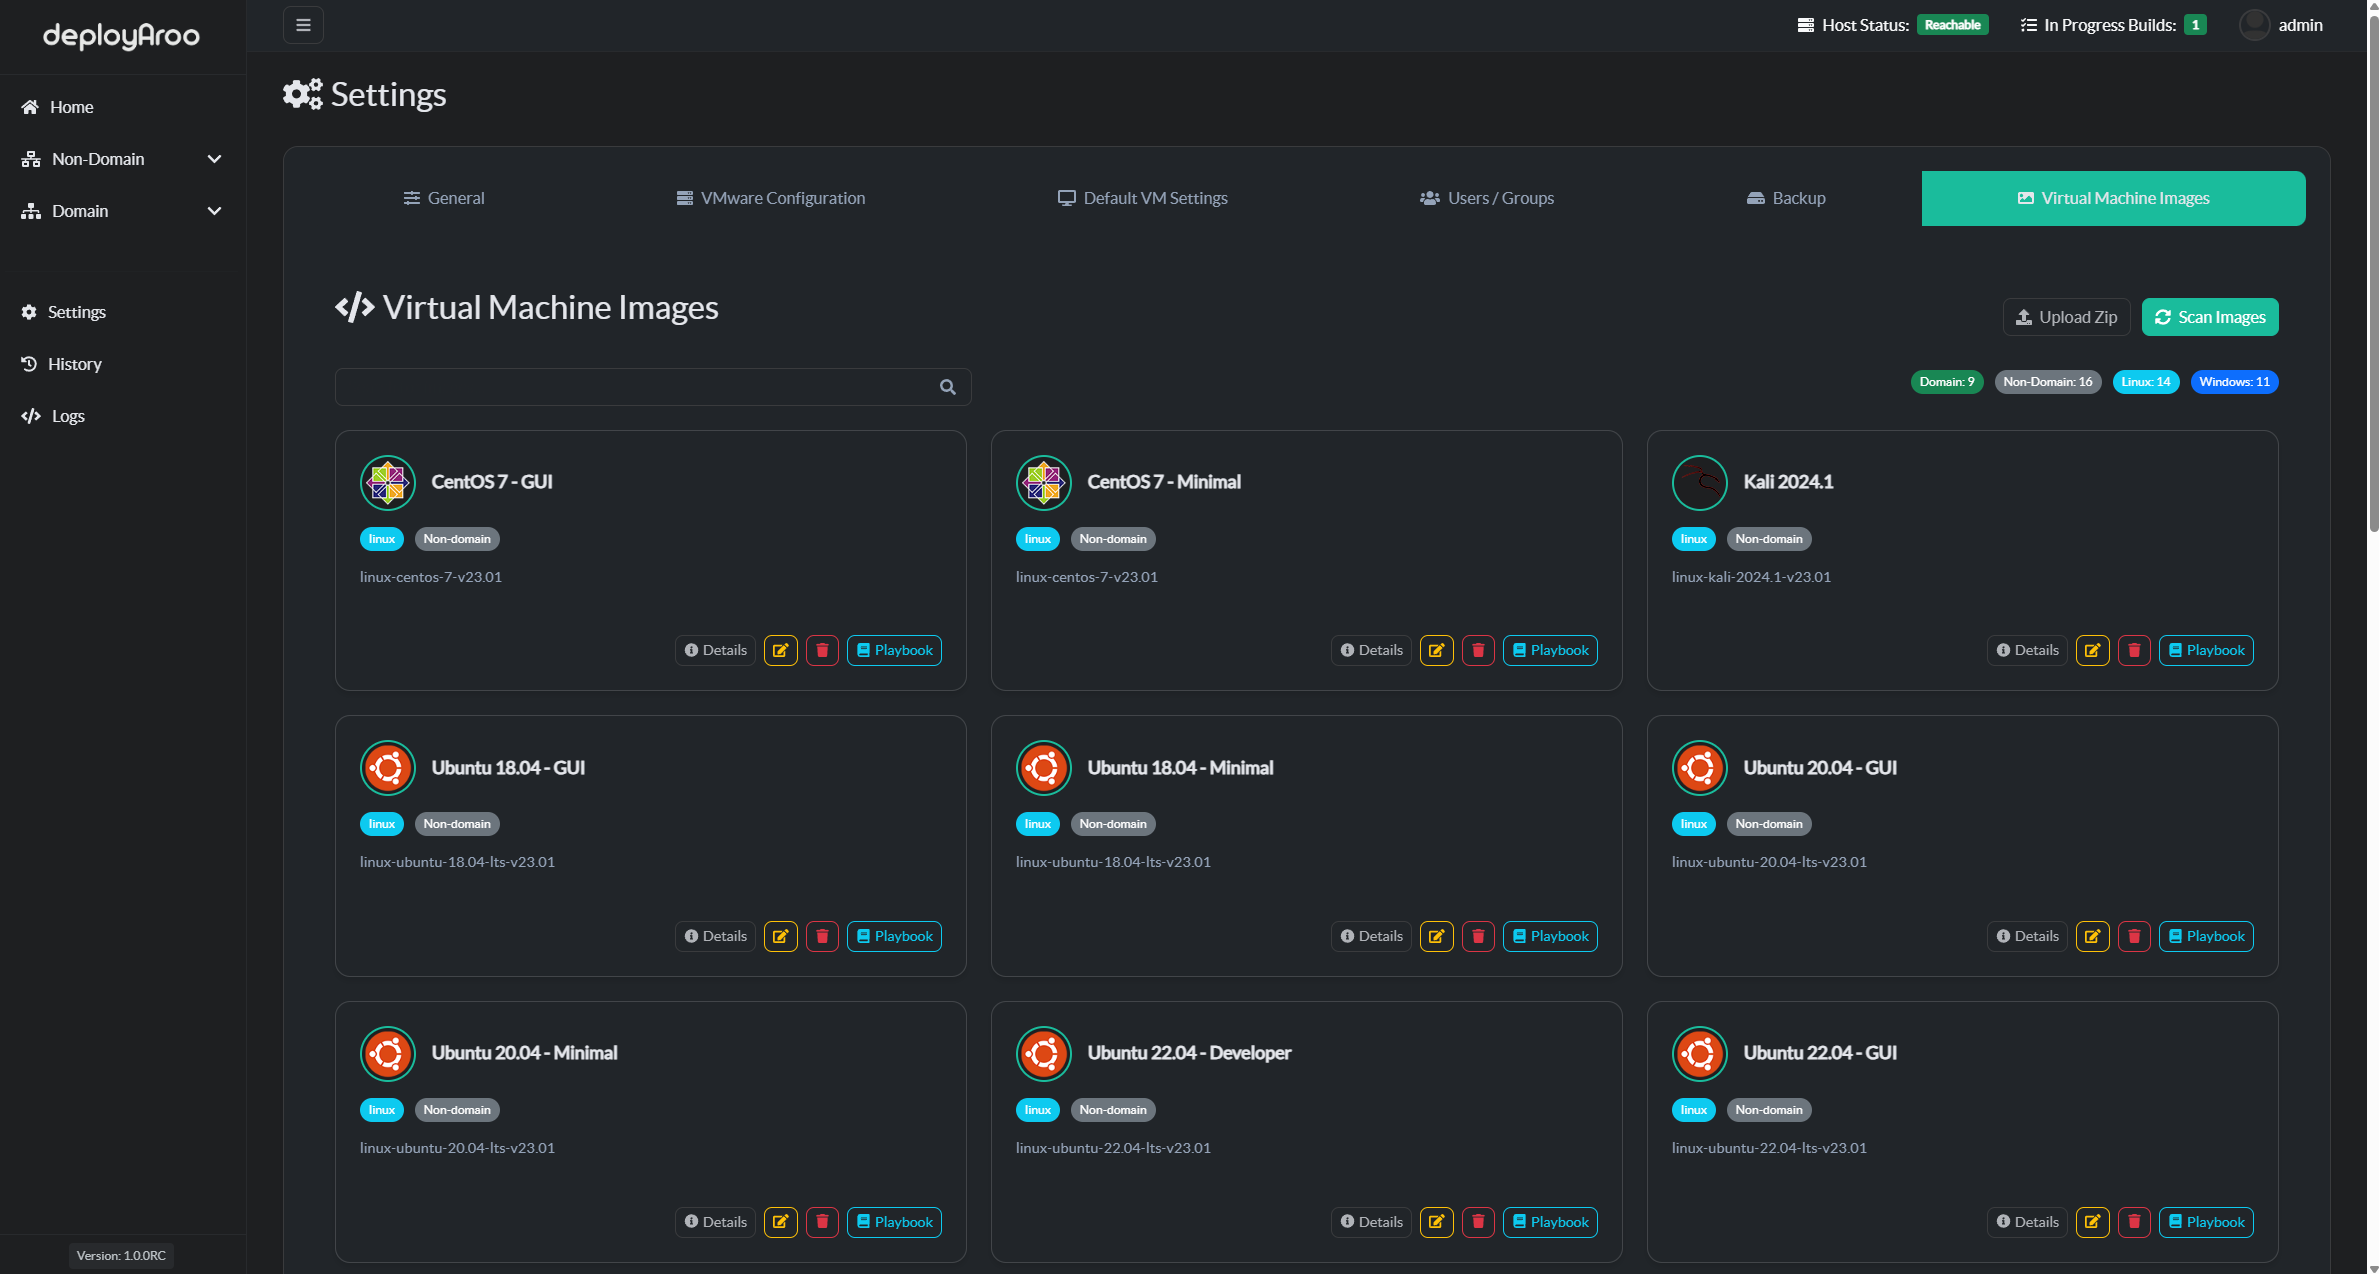
Tip: Regularly review and update your Deployaroo Images to maintain an accurate and efficient deployment environment. If you are looking to add more images to your deployaroo instance you can visit the "Download Images" Tab of this documentation and download supported and tested playbooks.
Scan and Configure Virtual Machine Images
-
Perform Initial Scan:
- Navigate to Settings > Virtual Machine Images.
- Press Scan Images to initiate the first scan for playbooks. This step initially populates your Deployaroo database with all of the relevant fields for each Deployaroo image.
-
Review Scanned Images:
- Verify that your VMware template names align with the Deployaroo images that you intend to deploy.
Example: A template named linux-centos-7-v23.01 should exist as a virtual machine template within your VMware environment if you would like to deploy CentOS 7 virtual machines. If an template exists, but is named differently you can change the template name on Deployaroo or VMware.
- Verify that your VMware template names align with the Deployaroo images that you intend to deploy.
-
Manage Virtual Machine Images:
- Review the list of scanned images in the Virtual Machine Images section.
- Delete any images that don't have corresponding templates in your VMware environment to avoid confusion when deploying machines.
-
Reference Prerequisites:
- Refer to the prerequisites section for VMware template deployment examples and best practices.
5. Add a Non-Domain and/or Domain Networks
Configure a non-domain network for your virtual machines. This step involves adding network configurations suitable for your environment. Details will vary based on your specific network setup.
View the Administrator Guide
Next Step
To continue, please refer to the Administrator Guide.
Simplify your VM deployments with Deployaroo
Get Started | View Demo (Coming soon) | Report Bug | Request Feature