Adding a Non-Domain Network
1. Accessing the Non-Domain Network Settings
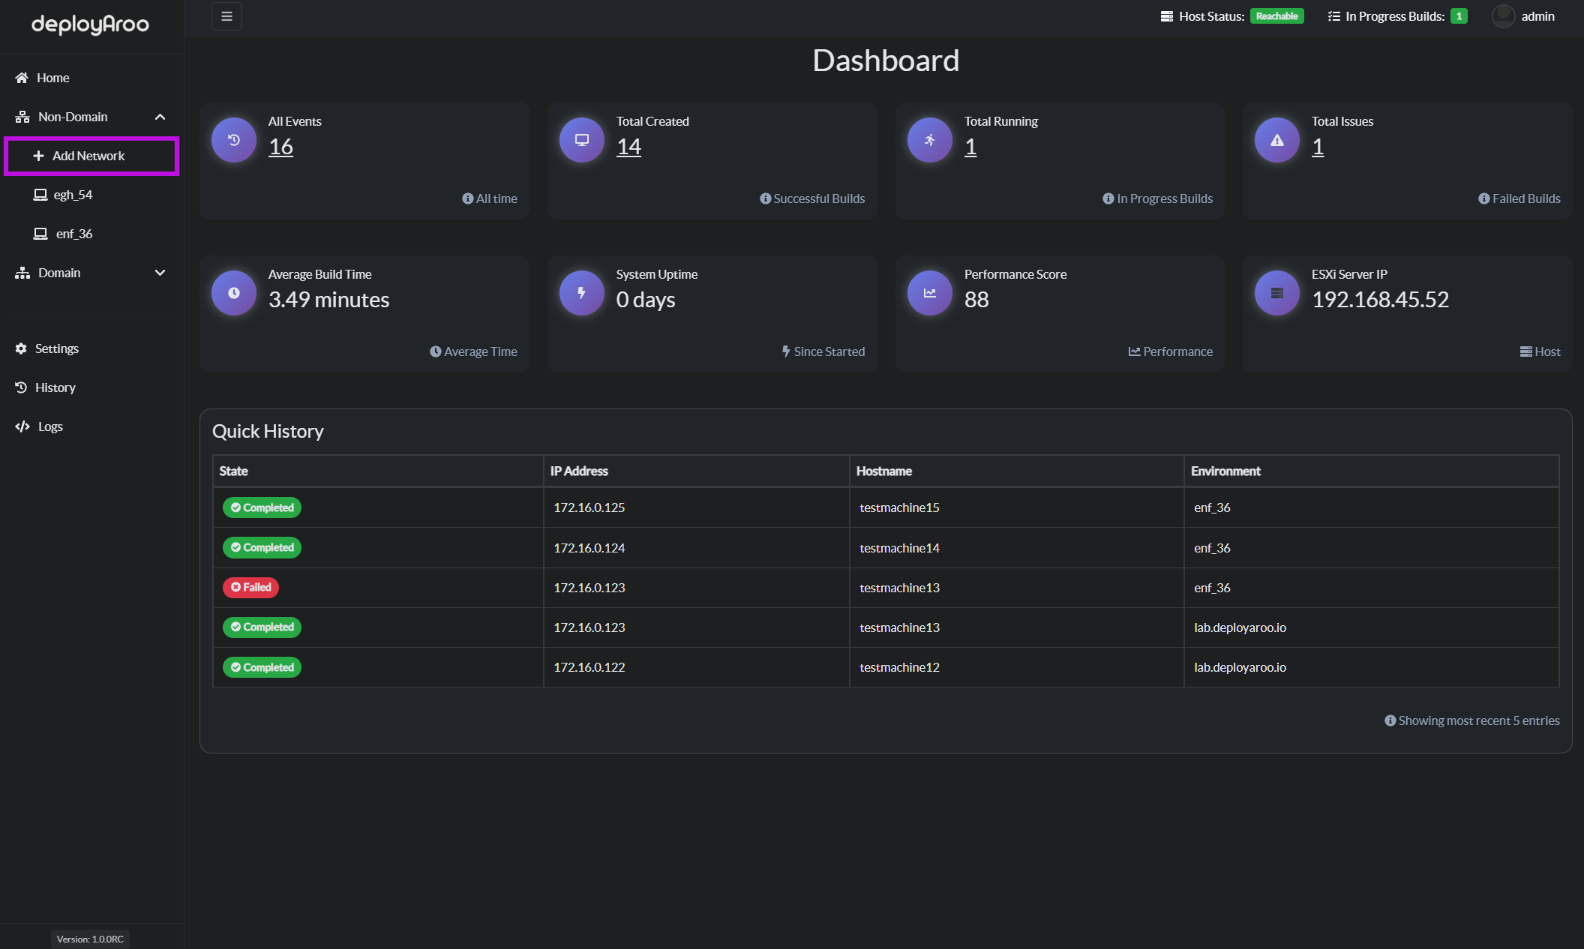
Navigate to Non-Domain Networks
Tip: Ensure you have the necessary permissions to add and manage networks before proceeding.
-
Access the Non-Domain Menu:
- Locate and click on the Non-Domain item in the left-hand navigation menu.
-
Initiate Network Addition:
- Look for and select the Add Network option within the Non-Domain section.
2. Configuring Network Details
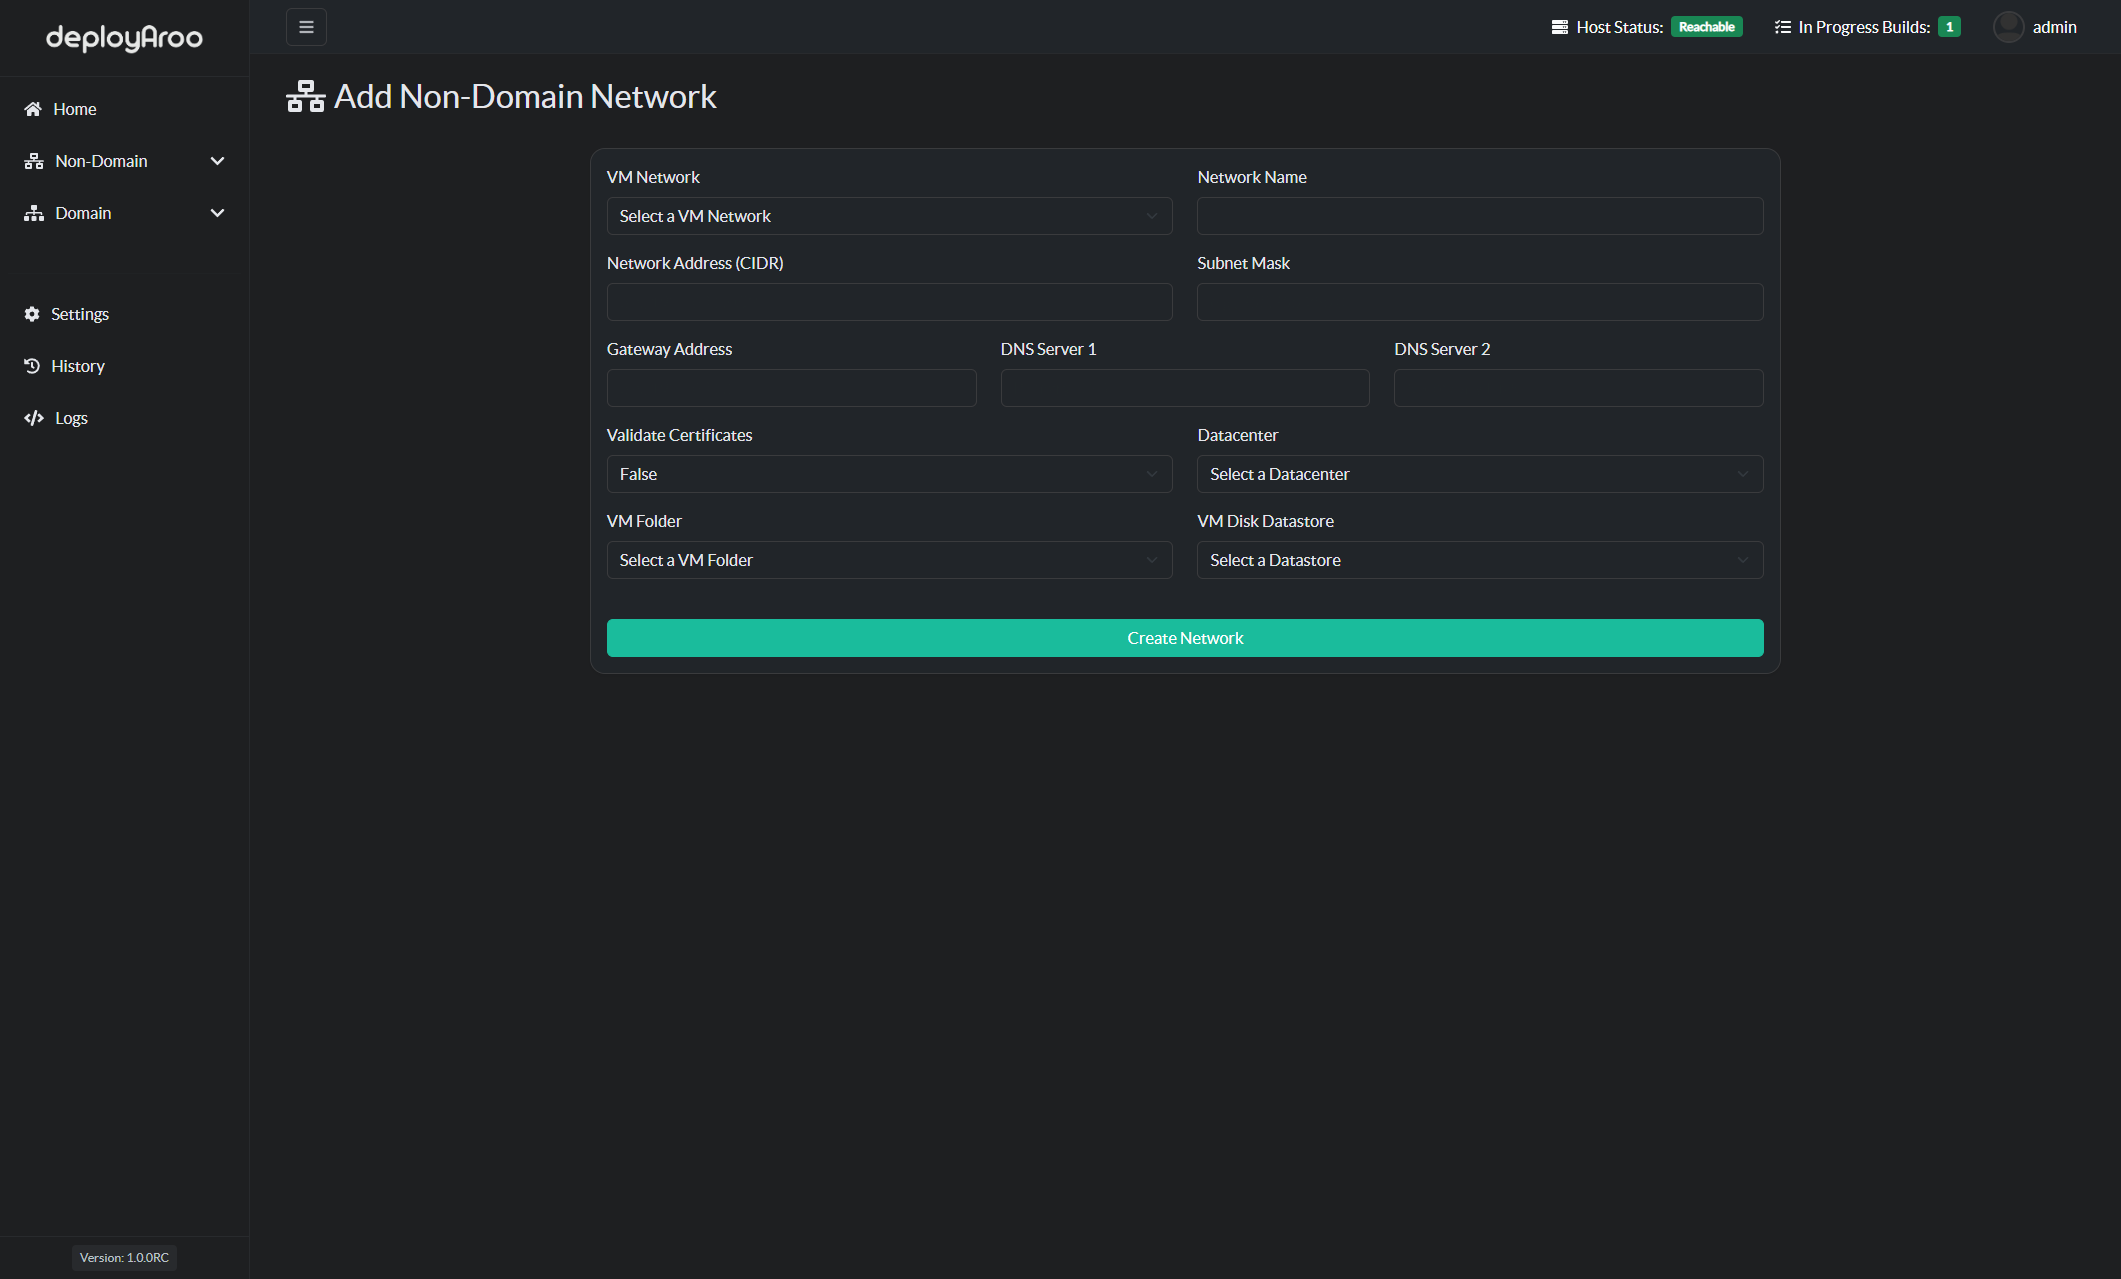
Fill in Network Information
Important: Accurate network details are crucial for successful VM deployments. Double-check all information before saving.
-
Enter Network Specifics:
- Fill in all relevant details related to the network where you will deploy virtual machines.
- This will include:
- Network name
- IP address range
- Subnet mask
- Default gateway
- DNS servers
-
Customize Network Name:
- Choose a network name that aligns with your VMware environment naming conventions.
- Ensure the name is descriptive and easily identifiable for future reference.
3. Finalizing Network Creation
Save and Verify Network Configuration
Note: The dropdown items in the network configuration form will be populated with information retrieved from the VMware vCenter API.
-
Create the Network:
- After entering all required details, locate and press the Create Network button.
- This action will add the network under the Non-Domain menu item.
-
Verify Network Addition:
- Check that the newly added network appears in the list of Non-Domain networks.
- Confirm that all details are correct as entered.
-
Add Multiple Networks (Optional):
- If needed, repeat this process to add multiple non-domain networks.
- Each network can be customized to suit different deployment requirements or environments.
Next Steps
After adding your non-domain network(s), you may want to:
Simplify your VM deployments with Deployaroo
Get Started | View Demo (Coming soon) | Report Bug | Request Feature